- Minecraft Nexus
- Posts
- Top 10 Minecraft Shaders for Low-End PCs That Won’t Fry Your Computer! 💻⚡
Top 10 Minecraft Shaders for Low-End PCs That Won’t Fry Your Computer! 💻⚡
I’ve put together the Top 10 Minecraft Shaders that will make your game look stunning without turning your computer into a toaster. 🔥
Micro_Gamerz
October 14, 2024
Hey, fellow crafters! 🟩🟫
I know the struggle of loving Minecraft but being stuck with a potato PC. You want those sweet Shaders to make your world look epic, but your FPS drops faster than you can say “creeper.” Fear not! I’ve put together the Top 10 Minecraft Shaders that will make your game look stunning without turning your computer into a toaster. 🔥
Ready? Let’s jump in! 🚀
10. TME Shaders (Lite Version)
TME Shaders are usually known for being a bit heavy, but the Lite version is a solid choice for low-end PCs. It keeps your game running smoothly while giving you that cinematic vibe with soft lighting and a gorgeous atmosphere.
9. Oceano Shaders (Lite)
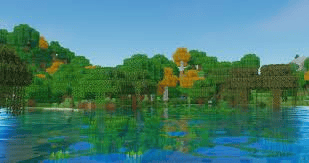
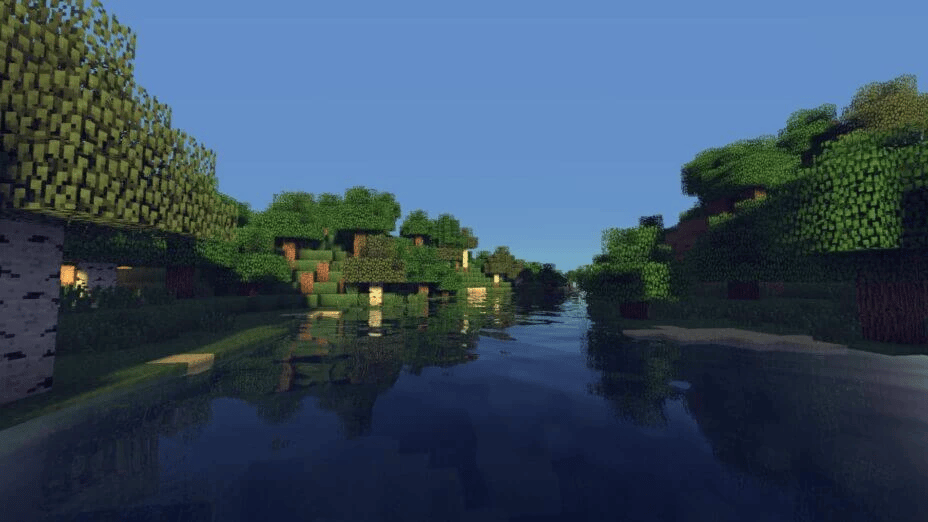
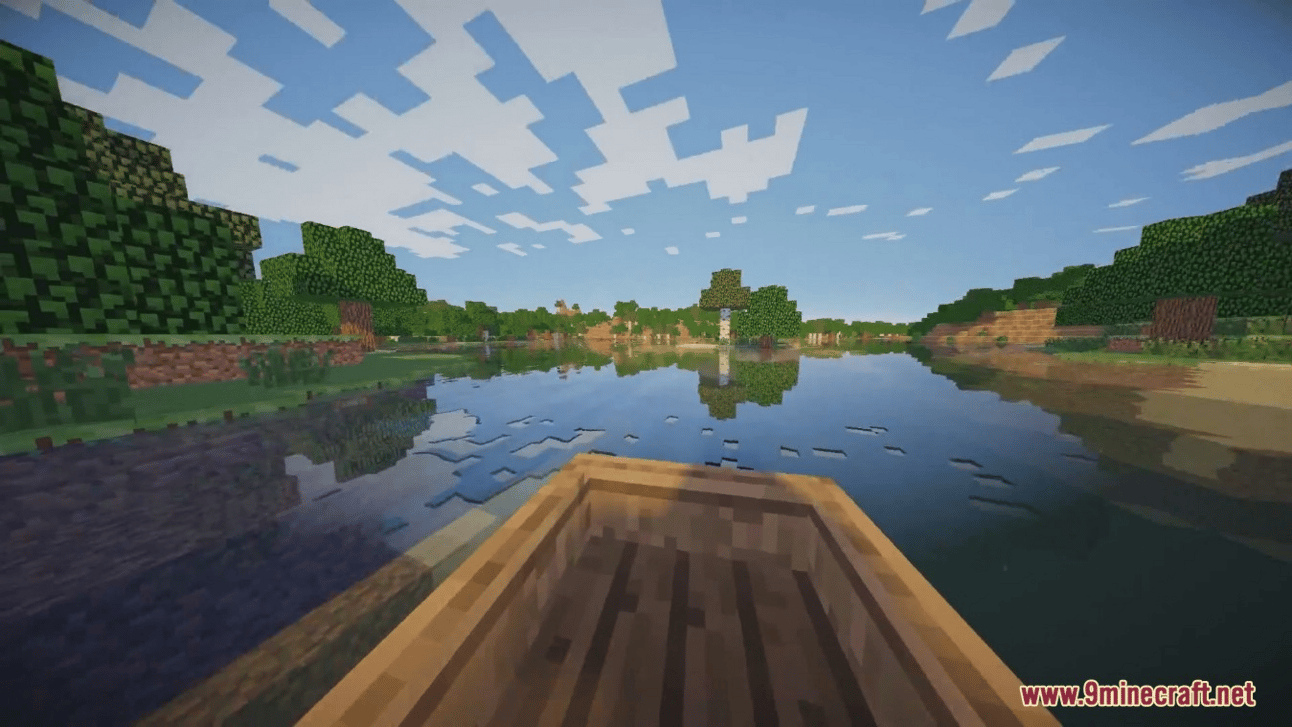
Do you like your water looking like actual water? Oceano Shaders (Lite) focuses on making water look extra realistic without destroying your FPS. It’s perfect if you’re big on underwater adventures but still rocking that old laptop. 🌊
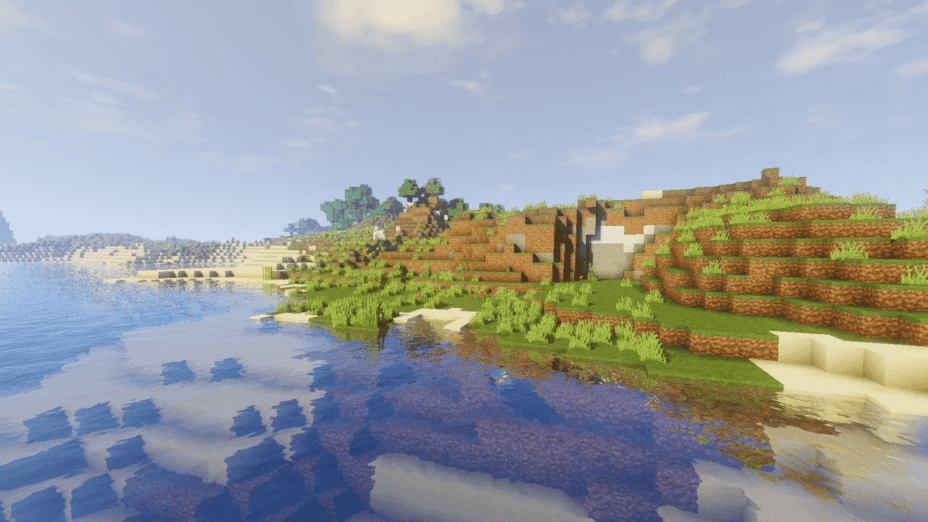
8. SFLP Shaders (Shaders for Low-Performance PCs)
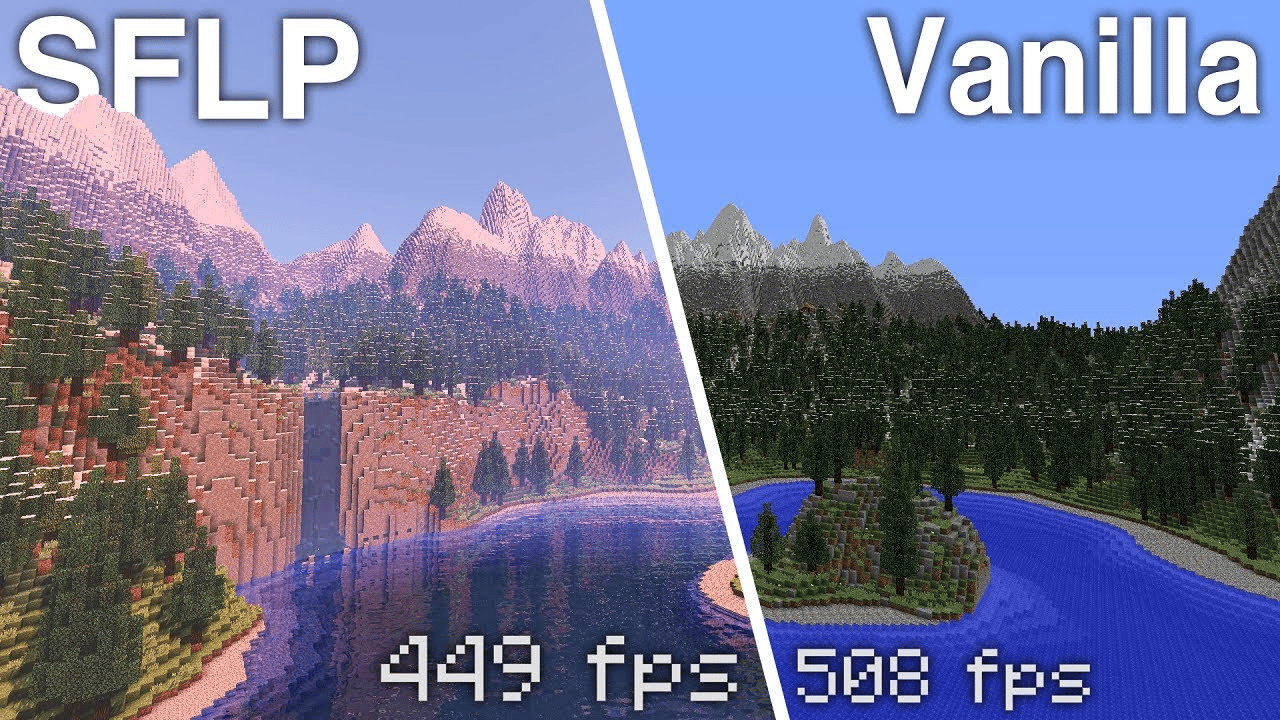
Built for the underdogs, SFLP Shaders are designed for low-performance PCs. This one’s like the underdog story of shaders, making Minecraft look stunning while being friendly to older systems. 🦸♂️
7. MrMeepz Shaders (Low-End Version)
With a name like MrMeepz, how could you go wrong? This low-end version is specifically made to run smoothly on older hardware, and you’ll still get a bump in lighting and water effects without breaking your system.
(Supported Version- 1.12.2- 1.11.2)
6. Vanilla Plus Shaders
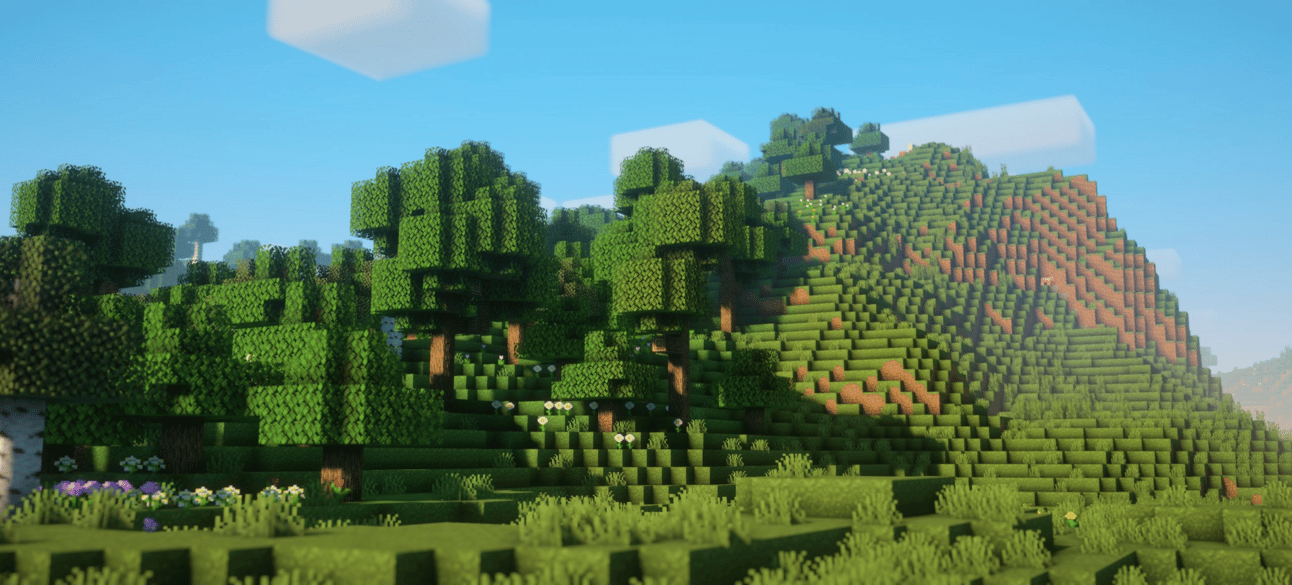
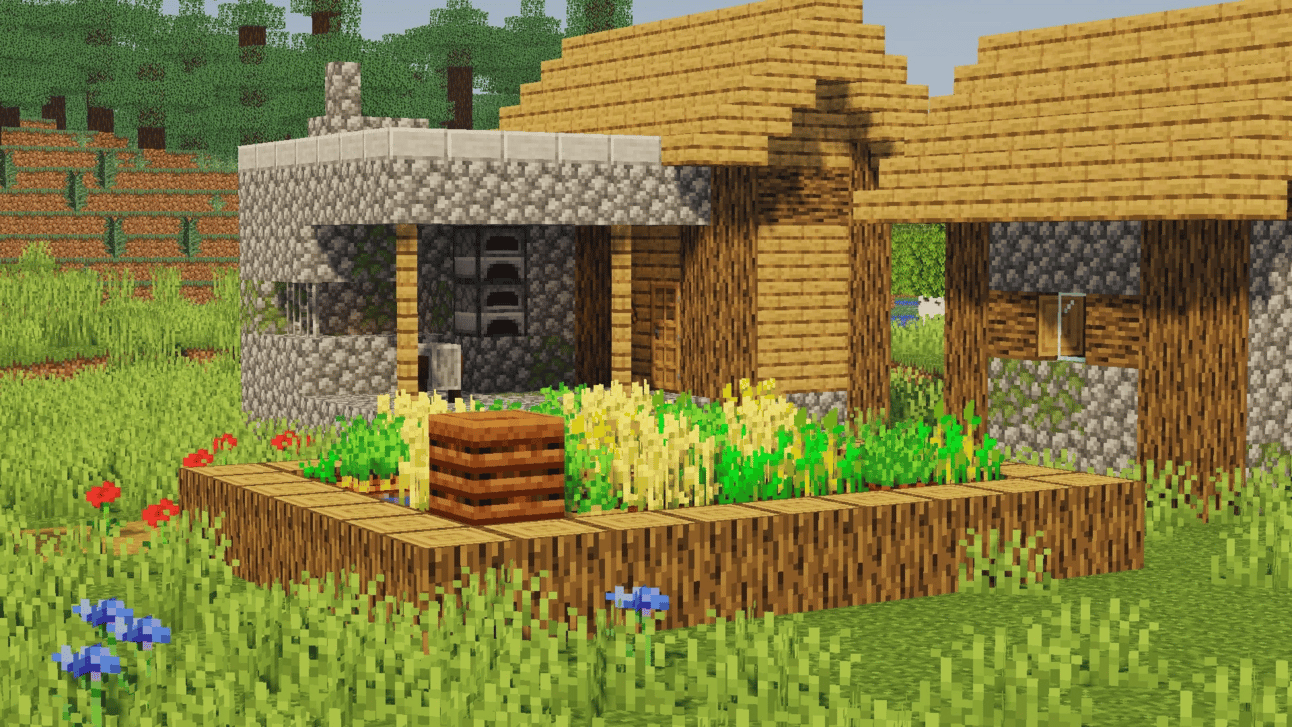
If you’re all about keeping that classic Minecraft feel but want a bit of extra polish, Vanilla Plus is your shader pack. It doesn’t go crazy with effects, but it gives the game a fresh, refined look. Think of it as Minecraft with a light Instagram filter. 📸
5. BSL Shaders (Tweaked Settings)
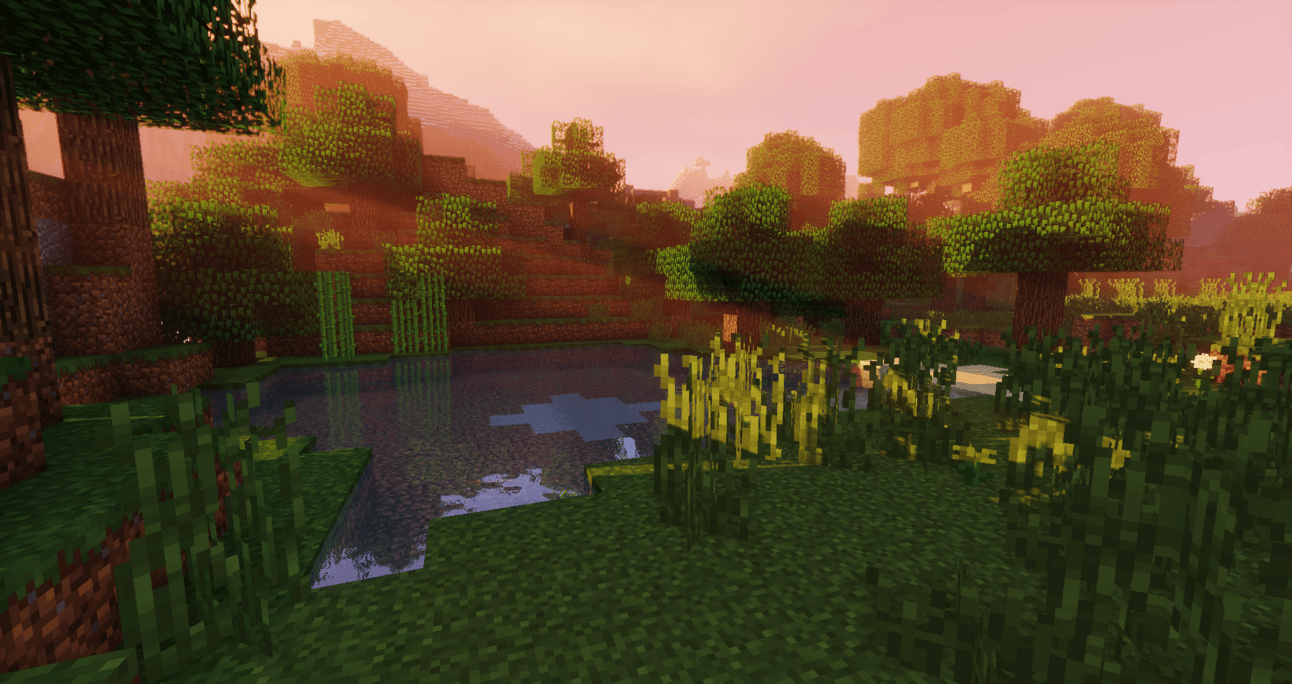
BSL is already pretty optimized, but if you tweak the settings a bit, you can make it run like butter on lower-end machines. And yes, you still get those breathtaking sunsets. 🌅 Pro tip: Lower the shadow quality to boost FPS!
4. KUDA Shaders (Lite)
We all know KUDA is a heavyweight when it comes to shaders, but its Lite version is a gift to low-end PC users. You still get gorgeous skies and lighting effects, but without having to worry about your FPS tanking into single digits.
3. Lagless Shaders
The name says it all. If your computer is allergic to shaders, this is your go-to pack. It’s light, it’s smooth, and it won’t make you regret your life choices. While it’s not the flashiest shader, it makes Minecraft look cleaner without murdering your performance.
2. Chocapic13’s Toaster Edition
Yes, it’s called Toaster Edition—so you already know it's designed for low-end systems! You’ll get awesome lighting and water effects, all while keeping that sweet FPS high. It’s like magic, but with pixels. 🪄
1. Sildur's Shaders (Lite Version)
If you haven’t heard of Sildur’s, do you even shader, bro? This is one of the most popular shader packs out there, and for good reason. The lite version works wonders on low-end PCs, giving you smooth lighting and shadows without turning your game into a slideshow.
How to Install Minecraft Shaders (For OptiFine and Iris + Sodium)
OptiFine Method (Great for customizing settings)
Download OptiFine: Search for “OptiFine [your Minecraft version]” and download the latest release.
Install OptiFine: Open the OptiFine installer and run it. This will add an OptiFine profile to your Minecraft launcher.
Download a Shader Pack: Pick one of the shader packs from the list above!
Move the Shader Pack: Put the shader pack into the “shaderpacks” folder in
.minecraft. (If the folder doesn’t exist, create it.)Launch Minecraft with OptiFine: Open Minecraft and select the OptiFine profile. Go to Options > Video Settings > Shaders, and choose your shader pack.
Enjoy Your New Graphics! 🌟
Iris + Sodium Method (Best for performance and FPS)
Download Iris: Head to Modrinthc.om and download the Iris.
Install Iris: Copy your Iris.jar and put it into the “mods” folder in
.minecraftDownload a Shader Pack: Just like with OptiFine, download one of the shader packs from the list above.
Move the Shader Pack: Place your shader in the “shaderpacks” folder in
.minecraft.Launch Minecraft: Open Minecraft, Go to mods, the Iris profile, then go to Select the Shaders you want and hit apply!
Get Ready for High FPS + Awesome Visuals! 🚀
Final Thoughts
You don’t need a high-end gaming PC to enjoy stunning visuals in Minecraft. These 10 Shaders are perfect for low-end PCs and will give your game that extra sparkle. Whether you’re exploring the Overworld or diving into deep oceans, these shaders will level up your experience without burning your computer to a crisp.
Which shader are you trying first? Let me know!
Until next time, happy crafting! 🪓💎
Micro_Gamerz
Minecraft Cosmos
Reply